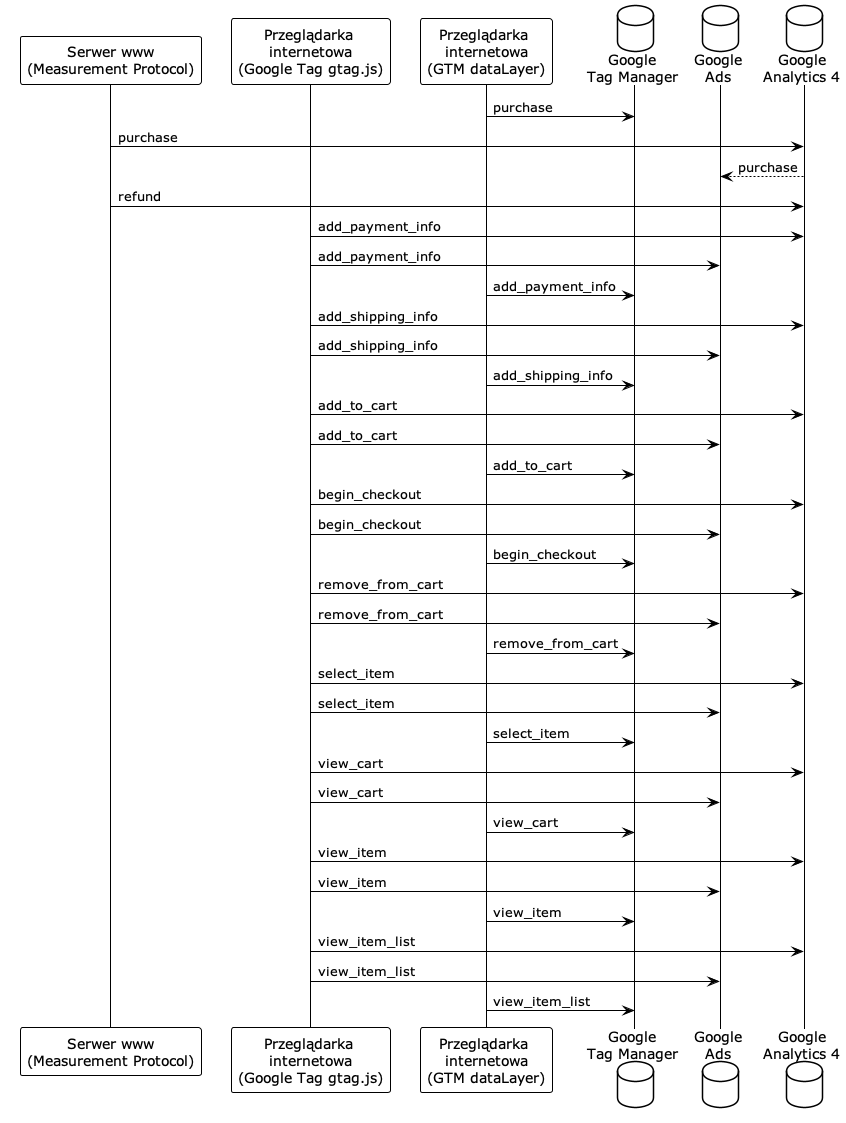
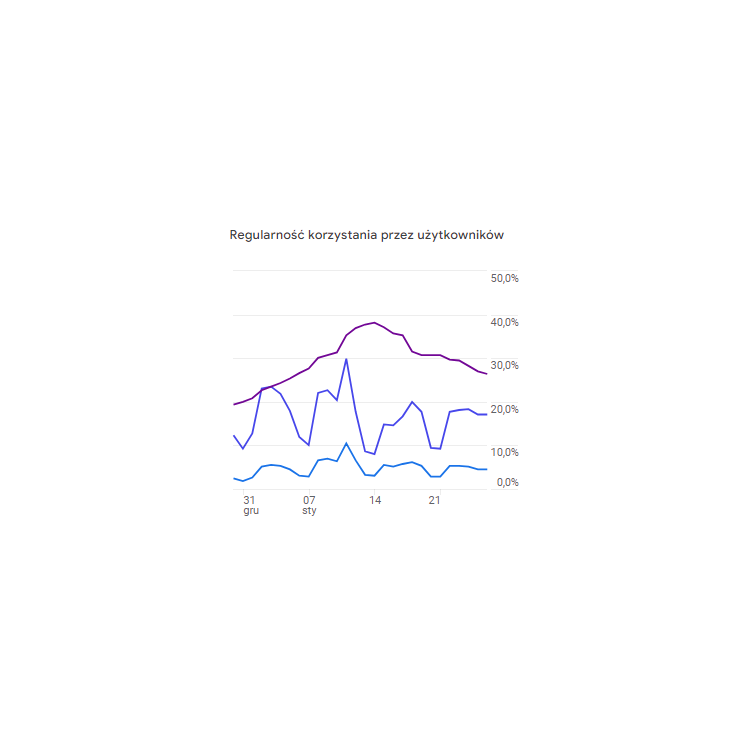
Differences between the classic tracking code from Google and using the Google Integrator module
In addition to adding the official tracking code from Google, the module sends a rich set of e-commerce events (store interaction, adding to cart, choosing delivery method, ordering, etc.) and sends transactions based on order status using Measurement Protocol and server-side API. Store integration with GA4 will work even if the customer uses browser plug-ins to block tracking or does not return to the store after completing the order.
Setting up PrestaShop integration with Google analytics services using the Google Integrator module.
Before you start the setup, prepare your PrestaShop store in 3 easy steps:
1.
First, remove all other Google tracking modules. You can use Google Chrome browser plugins to see what tracking codes are in your store.
2.
Then install Google Integrator 4. You can buy the module with an installation service or install it yourself.
3.
Before you start setting up the Google Integrator module, you should not see store traffic or any events in GA4. If you see traffic and/or events, go back to pt. 1.
- 4.8
Free support BEST147,60 EUR
Operation of the Google Integrator module
The module sends ecommerce events (add to cart, payment method selection, etc.) to GA4, GTM and Google Ads services - using DataLayer, gtag.js and Measurement Protocol.

Configuration methods for sending events to GA4, GTM and Ads
Configuration of Google <-> PrestaShop integration can be done in many ways. The method shown below is an example, and the final configuration depends on your or your ad agency's individual needs.

In Google Analytics 4
- Add a data stream and generate a secret API key (you will need it further)
- Set the "purchase" event as a conversion
- Connect Google Ads service (recommended if using) see documentation
- Connect Search Console service (recommended if you are using)
- Connect Merchant Center service (recommended if you are using)
In Google Ads
Required prior connection of Ads with GA4.
- Enable automatic tagging - see documentation
- Log in to your Google Ads account.
- In the menu on the left, click Settings.
- Click Account Settings at the top of the page.
- Click the Automatic tagging section. If the box "Add a tag to the URL that users click on in the ad" is checked, then automatic tagging is enabled. To disable it, uncheck the box and click Save.
- Import conversions from GA4
- Log in to your Google Ads account.
- In the upper right corner, click Tools and Settings.
- Click Performance Measurement > Conversions.
- In the upper left corner, click + New conversion action.
- Click Import, Google Analytics 4 Services and Next.
- Select the 'purchase' events, then click Import and Continue.
- Click Done.
For more information, see the Google Analytics documentation.
In Google Tag Manager (if using):
- Add "conversion linking tag".
Note: In GTM, don't add forwarding events to GA4, the module will send them there if you specify the GA4 ID in further configuration below.
In the configuration of the PShowConversion module:
- Enter the GA4 ID.
- Activate and configure Measurement Protocol:
- Enter the secret API key.
- Add tasks in CRON.
- Enter the GTM service ID in the module (optional if you are using it).
Common problems in tracking analytics
- "(not set)" instead of the source/medium of the transaction - check if you are using the latest version of the module, clear the store cache and check the Google services configuration according to this documentation
Order Google Analytics configuration 4
- 5.0
BEST300,00 EUR
If you don't have time for configuration and testing use the service Google account configuration. The service includes:
- Audit of existing connections to GA, GTM and Ads
- Configuration of Google tools
- Configuration of Google Integrator 4 module


